

Have a good look in your garage, under the stairs and out in the garden shed. If you're fortunate enough to still have them around ask your grandparents, or your mama and papa. Go to a flea market, have a look on eBay. Check out garage sales, barn sales, ask your neighbours or wander around in the woods with a metal detector.
Search one or more of these places and I can almost guarantee you can find yourself a damn fine antique axe just itching to be made beautiful.
There's something beautiful about an axe, given the choice of all equipment it's my number one companion for outdoorsmanship. It's so versatile, basically a big knife on a stick, it affords you the possibilities to do so much. Chop down a tree, split kindling, hew beams, spoon carving, self protection, bow making, serial killing. It's an amazingly simple tool and it pains me to see them get all rusty and nasty like this.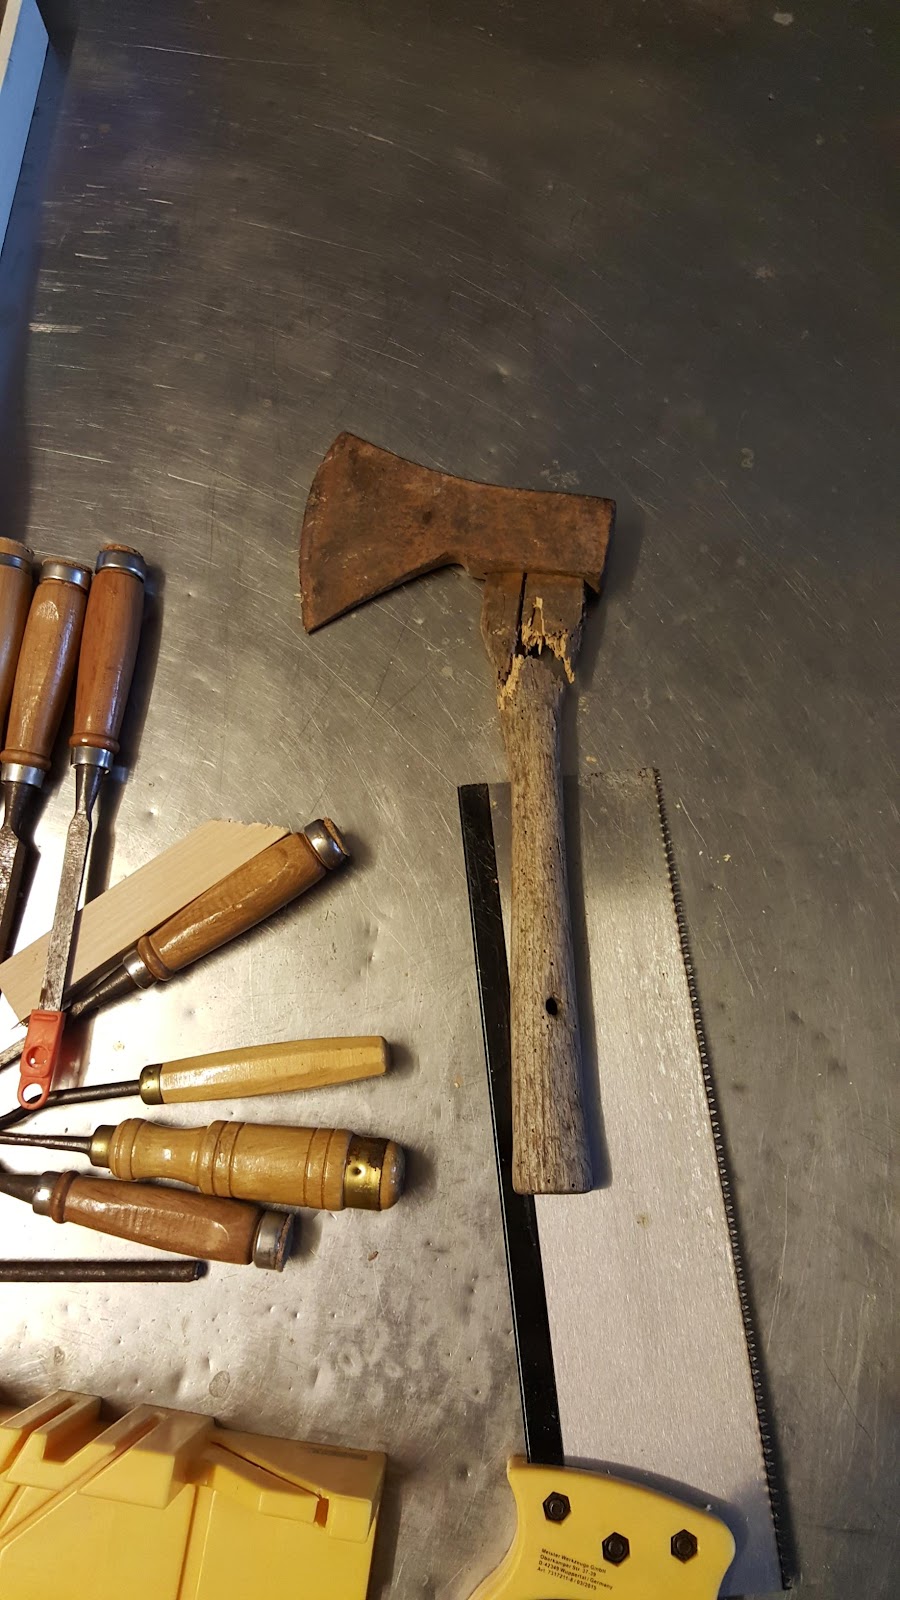
Axes, the antique kind at least have two main components. A head and a haft, haft is simply terminology for the handle of a knife, axe, or spear and usually made from wood. Wood by its material characteristics loses strength over time, gets rotten or in this case eaten 50% of the way through by the common furniture beetle.
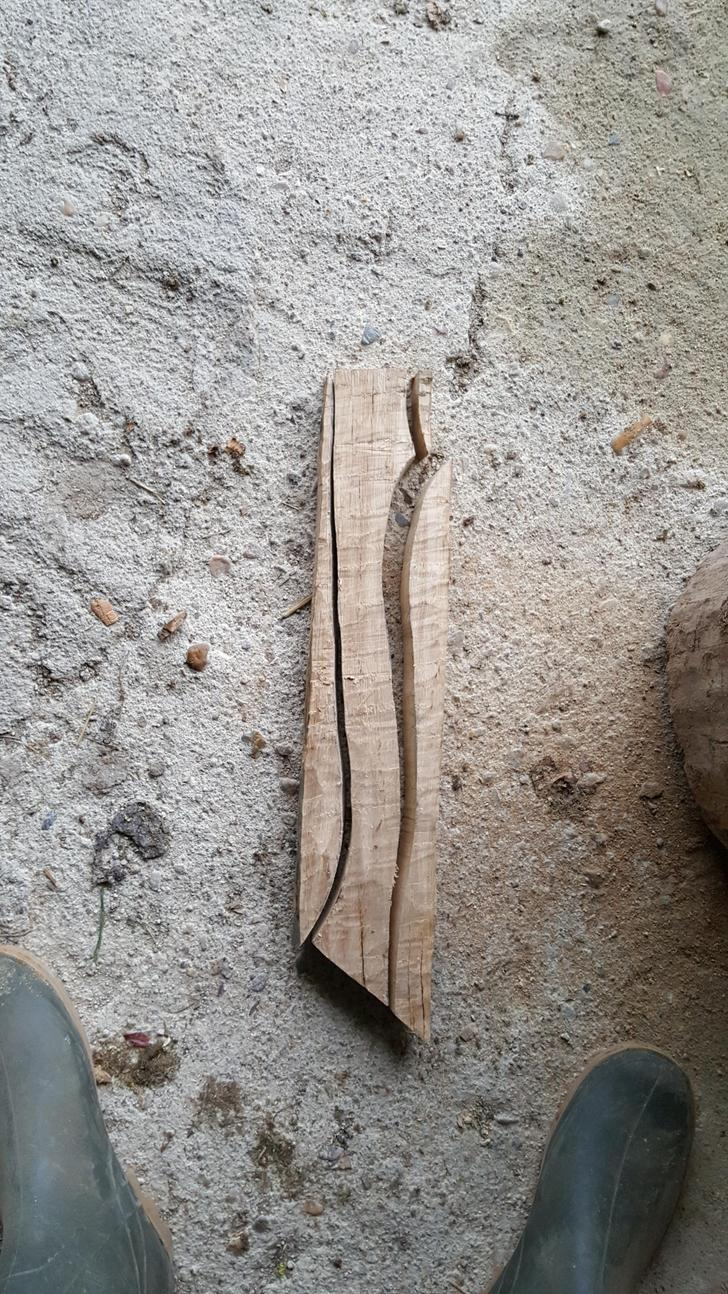
This is how I was gifted the axe from my mother in law who found it at a flea market here in France for about €5, I gave it a swing into a log of firewood to see how bad the handle was. The head stayed in the log, the handle stayed in my hand snapping clean in three.
If you yourself are following this to recuperate your own axe, however you decide to remove the wooden handle, just don’t throw the axe in a fire to burn it out. The intense heat of the fire will remove the temper of the axe’s blade edge making it soft and unable to stay sharp. Better to take a hand drill and drill out the leftover wood then hammer or chisel out the remains. Careful with your fingers.
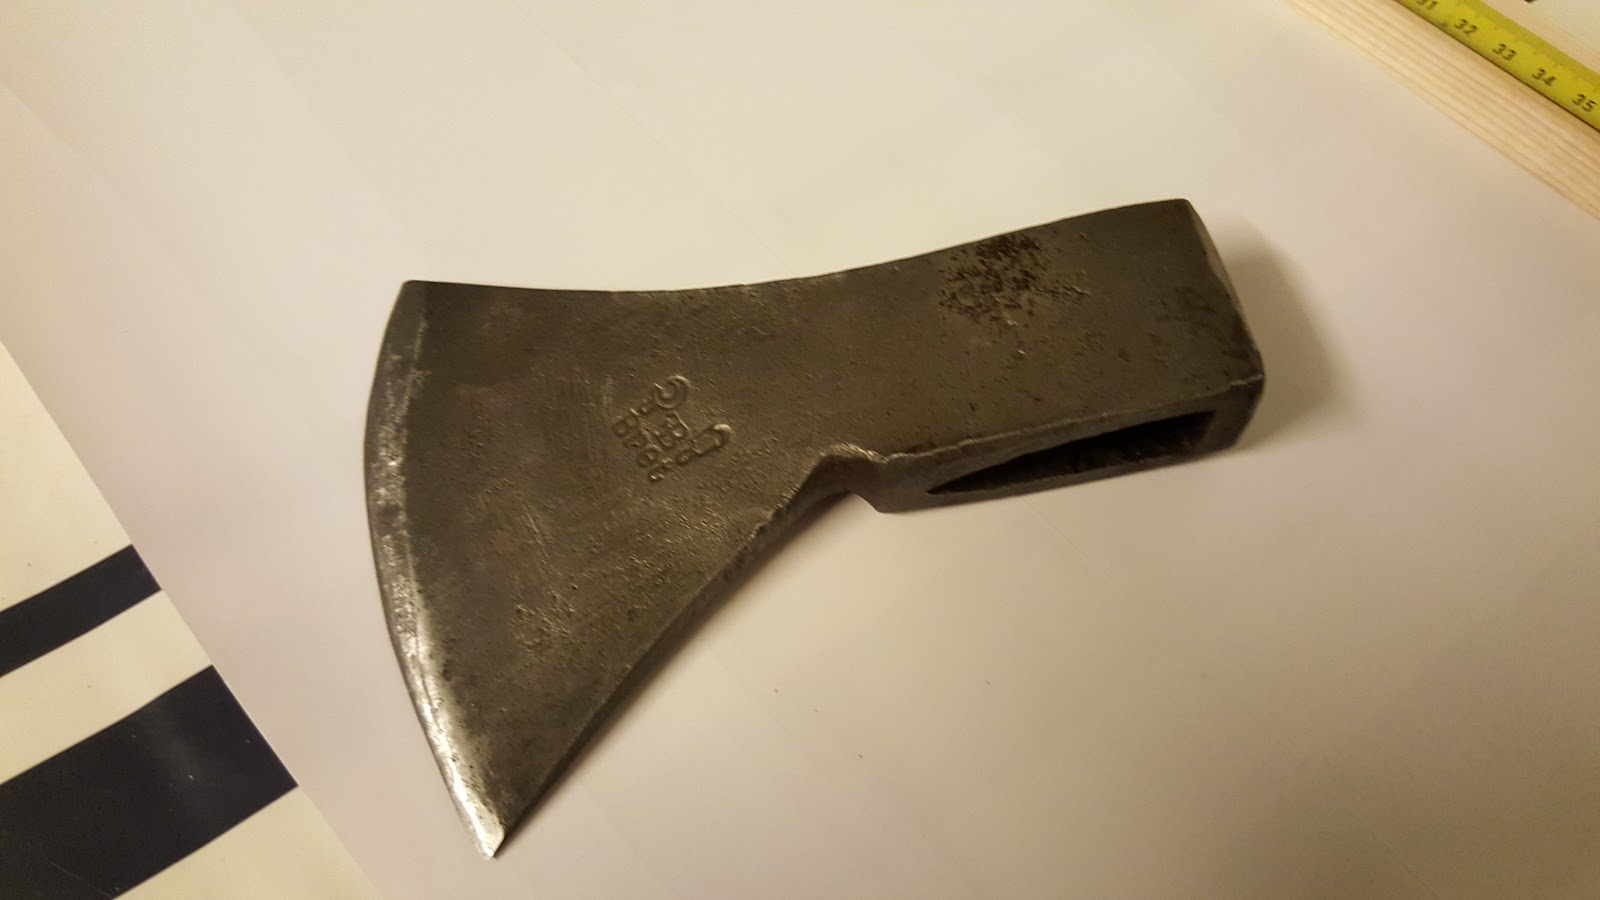
Any axe you do find is likely to be in pretty poor condition, the poor old dear is likely rusted up, blunt edged, and pitted. This is easily fixed with a good long soak in white vinegar and some scrubbing.
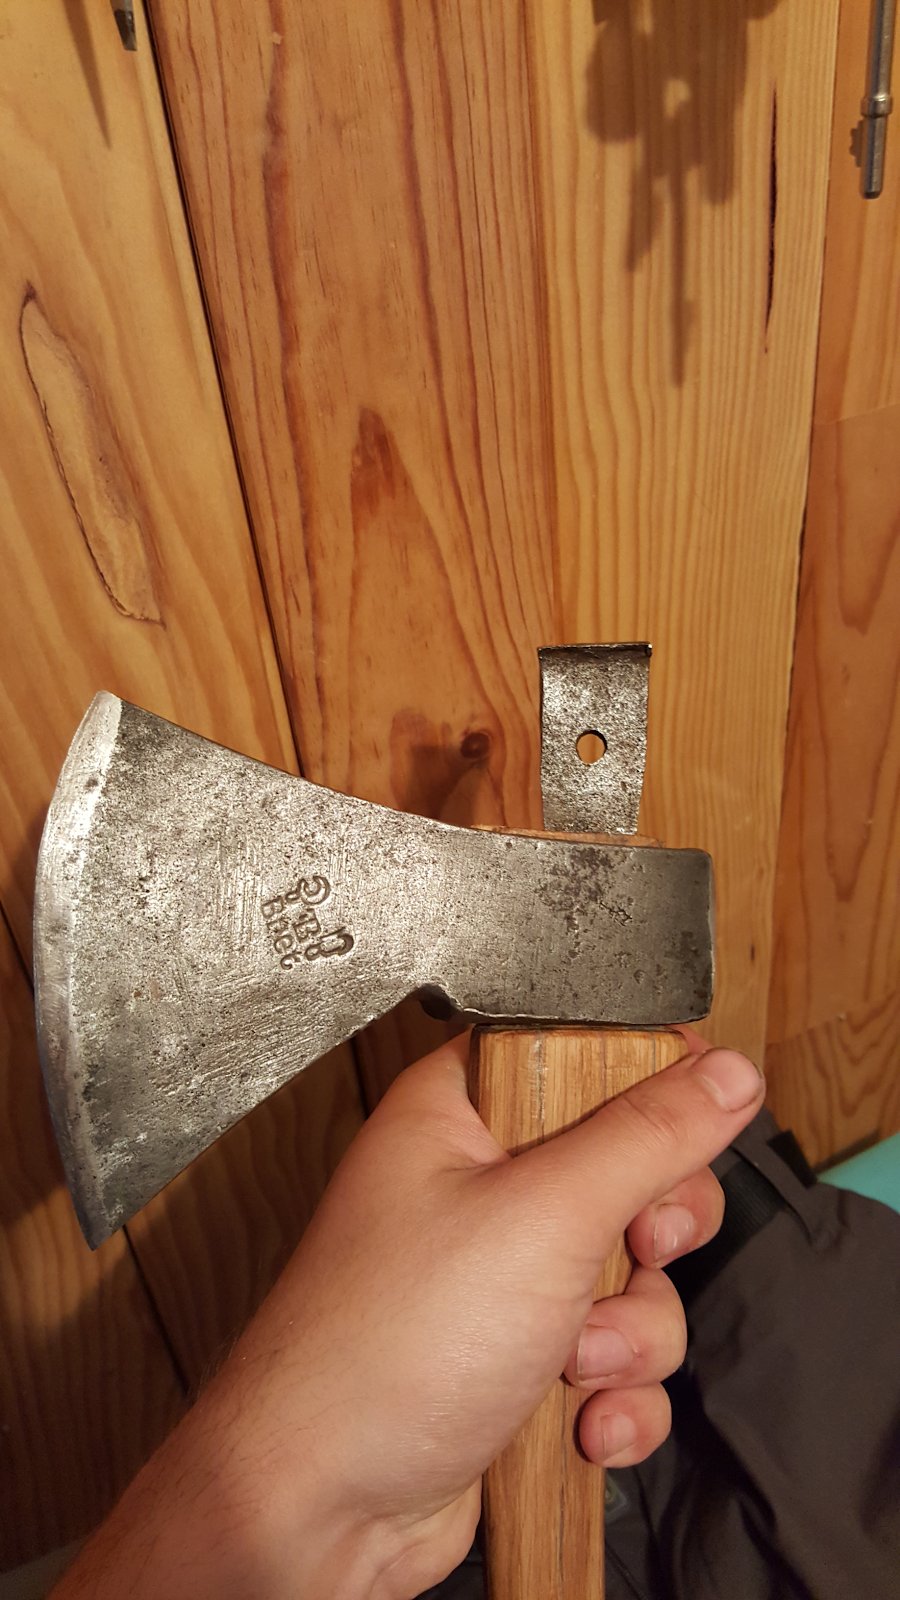
After her long night's soaking in vinegar and a scrub with a scouring pad a makers mark appeared from underneath the rust "BRET" which after a google search with my broken french language skills I found out to be an old French forge.

Now. you’re going to need some wood for that beautiful new handle that you’re looking to marry with your axe head. Good choices for your handle are solid hardwoods such as Hickory, Ash and Oak, you want something with a bit of spring so you don’t have the hard rebound from the axes impact rattling up into your fingers and giving you whiteknuckle. Hickory is prized and held up as the gold standard for handle wood, but currently I’m in the centre of france where the hickory tree is noticeably absent.
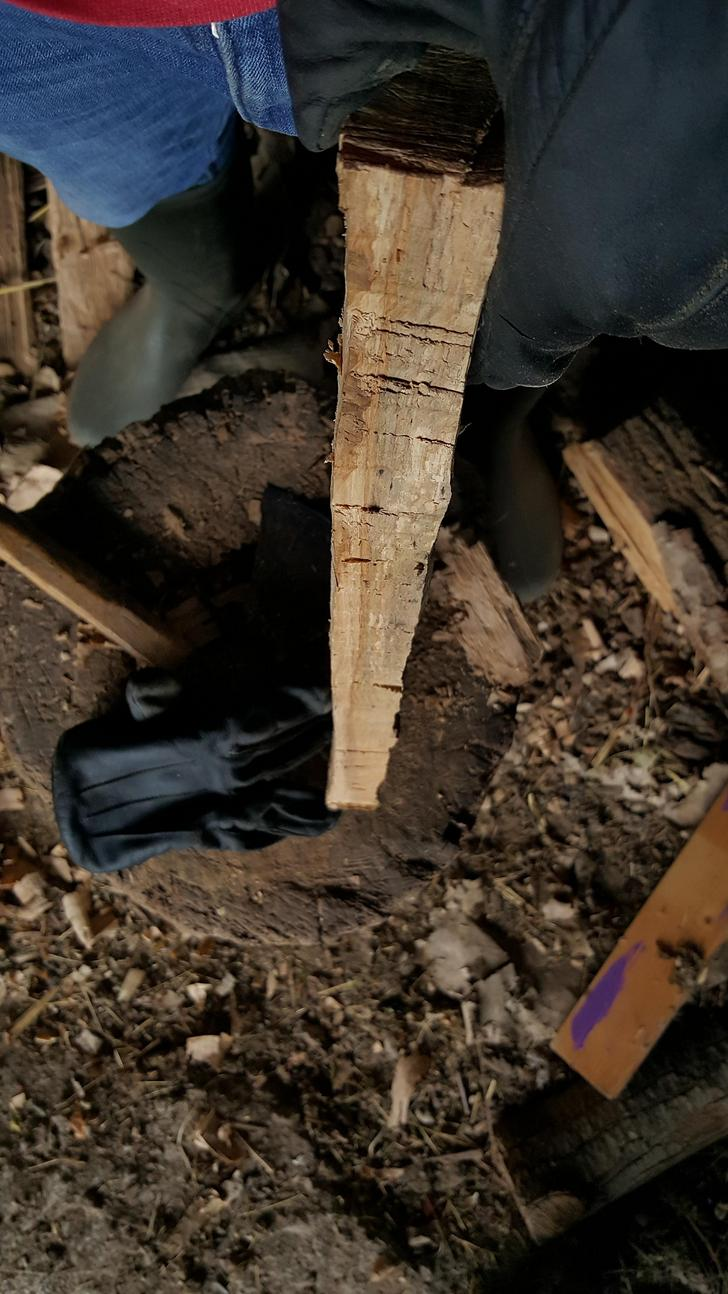
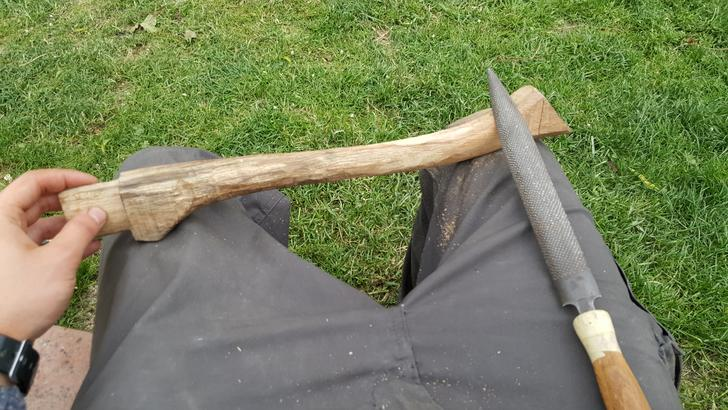
As me and the better 3/4's are at her parent's place the only available wood to hand is the firewood out back, I spotted a good section of oak down at the bottom. (Pointed to with the white stick)
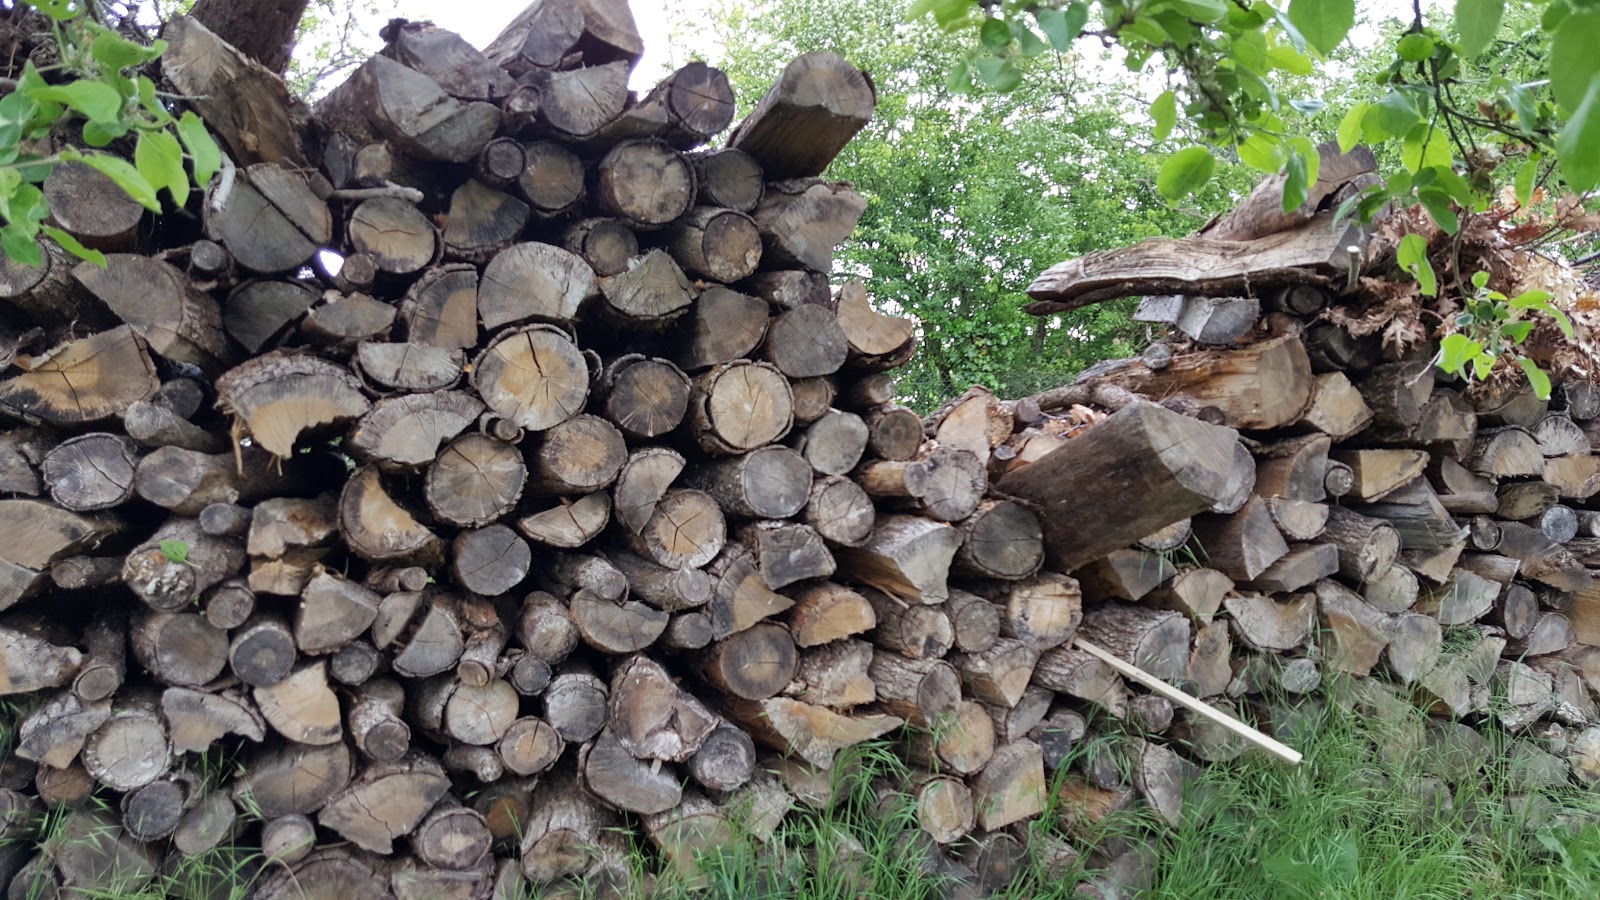
Literally the only straight grained length of oak wedged tight under 2 tons of knotted twisted cracked wood. Still it’s the one I want so it’s coming out with some persuasion.

She’s been left out in the rain since being stacked behind the orchard some… 6 months ago when we came for christmas, but now it’s time for a makeover.
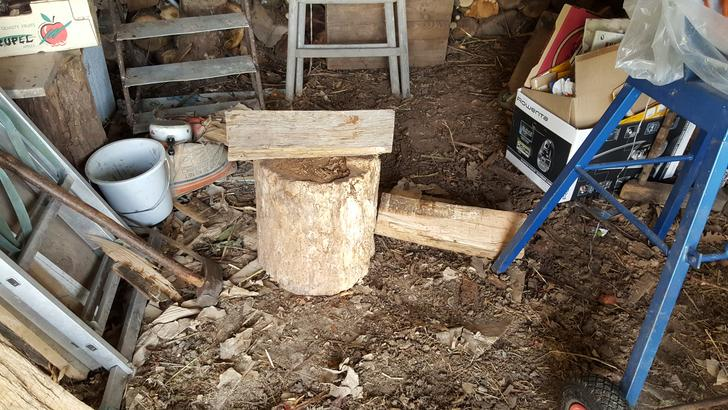
Propped up on the chopping block and sawn in half, just a hair over 500mm long for both parts. I had worked out prior to this the length of the handle I wanted, cut once measure twice. Having two sections at least gives me a backup log to work with if I need.

So back into the house for a few cups of tea while I stoop over autocad and draft out a template to trace out. Once I had my design on paper i cut out the shape to trace onto the wood later on. If you would like to download the template I made you can find it here http://bit.ly/2t2v3P6
Now to get the log ready to draw a template on it needs to be about plank shape, to start with split or hack out what was the centre of the tree, then the outer bark. For this axe I wanted a two tone colour and focused on cutting the band between the heartwood and the sapwood so that it would lie directly down the middle.

To achieve this I cut out my plank as shown by the red rectangle. You can try to split the log to get your plank but I prefer to hew with an axe as i find it gives me much more control over the result

I was very pleased with how easily I could achieve a flat side after only a few minutes of hacking. With this oak you can see there's a few “checks” or cracks from the wood’s expansion, most aren’t too deep and shouldn’t pose much of a problem. More on that later.
Here looking down the side you can see the banding of the different wood types, nice and straight. I recommend drawing a straight line parallel with each side of this mark to make sure you don’t remove too much material and keep the plank straight as you thin it down

If you look closely you can see the dotted lines down the right hand side of the plank here

One plank finished, now for the second. Always nice to have a backup in case things go wrong.

Time to trace! I drew around the template trying as best i could to avoid checks, unfortunately you can see at the bottom a large check that I couldn’t avoid but it’s not too much of a problem when it’s at the base of the handle as opposed to the head of the axe.
Using the jigsaw I freed the handle from the majority of the excess wood.

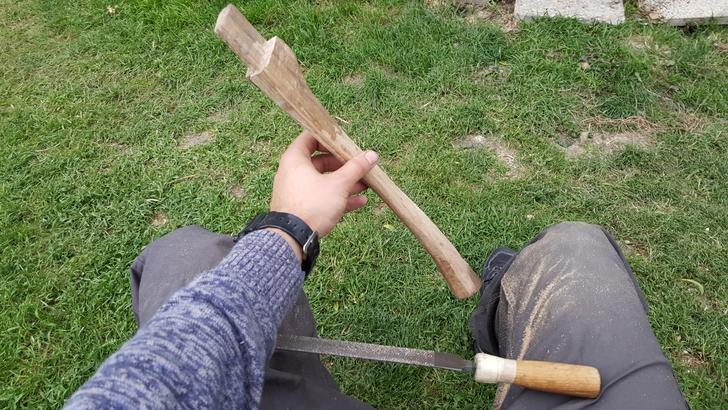
Feels very nice but a little rough right now with the square profile

So with a centre line drawn down the middle i chamfered the edges for an octagonal cross section that would be easier to round out later
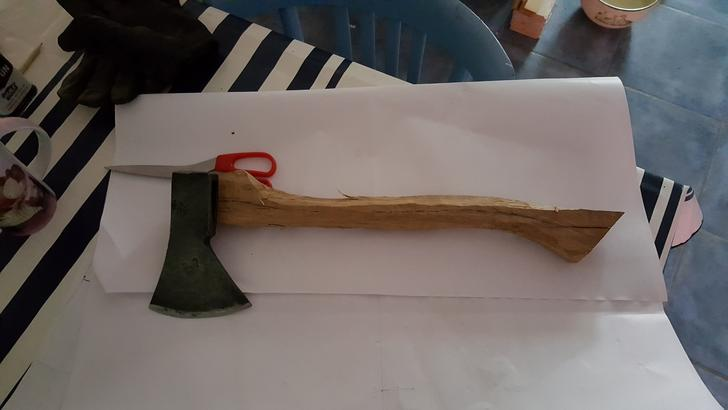
Test pose next to the head so I can see how they look together, they’re a beautiful couple.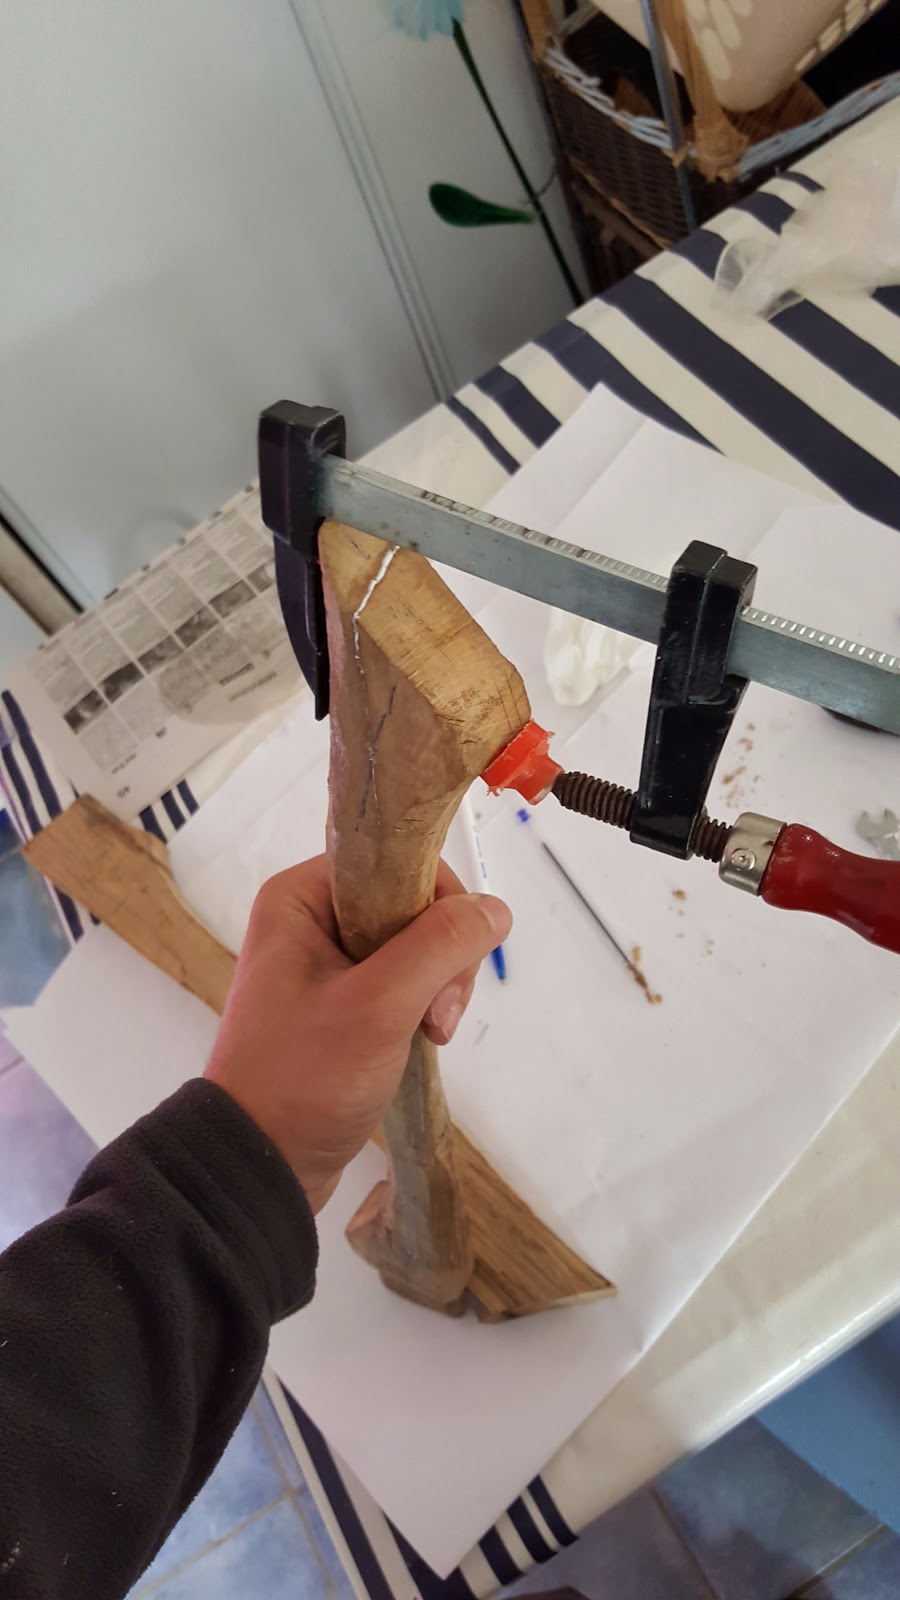
While it’s inside for the night I decided to do something about that check. Fill it full of wood glue then clamp it as tight as you can.

Now to fit the head, I like doing this before working on the rest of the handle so that I don’t waste any time, if i mess this part up the rest isn’t work continuing. With rasps I rought out the shape then filed smooth until the head just slid on with some resistance. After that I cut a slot to later accept the wedge.

I let the glue chooch for a couple of days because I was busy in between, in the meantime I gave another couple of axes a soak in vinegar.
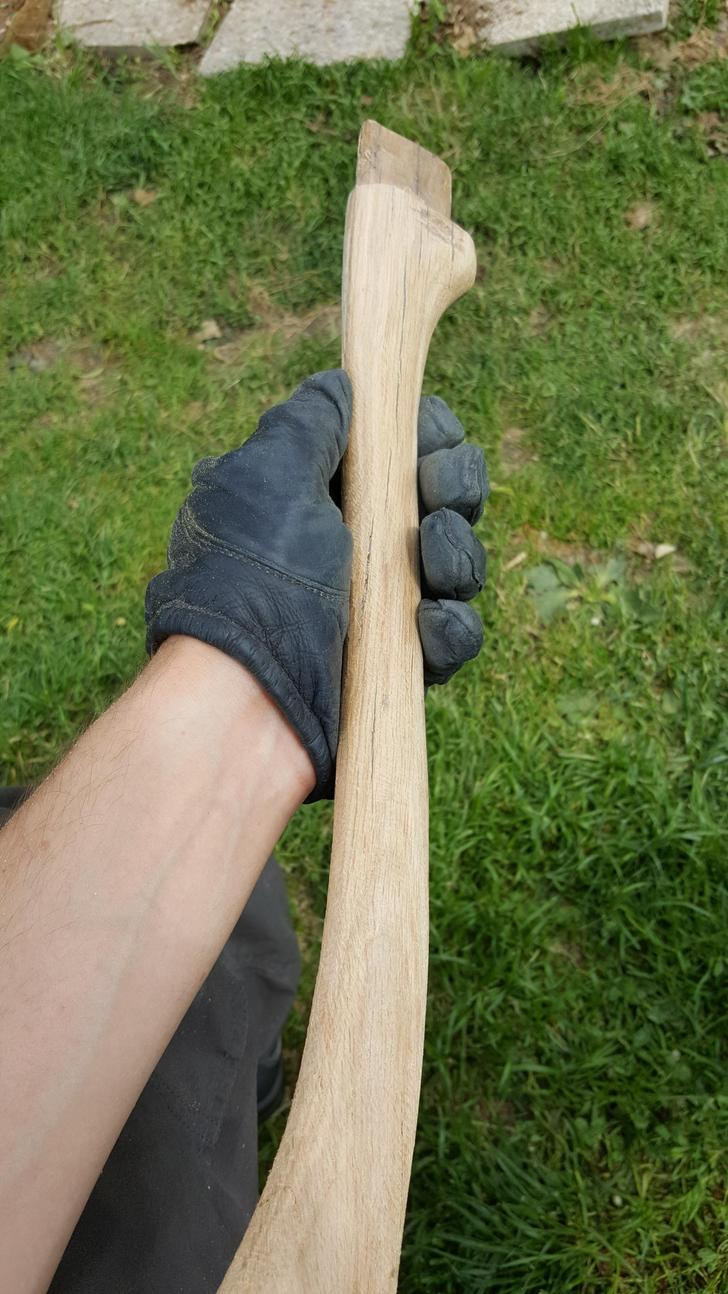
Back to the haft, I began to smooth out the shape with a rasp I had on loan
The cabinet rasp was very useful for the curves and bends in the shaping and was just a pleasure to use, too bad I had to give it back afterwards, I’ll definitely be on the lookout for one myself

Very nice curvy surface, the teeth of the rasp lifted a small check here but that’s nothing a bit of wood glue and sandpaper can’t fix.
After an hour or so of rasping I was very happy with the result, you might be able to see a few checks on this side, they were only about 1mm or so deep so I simply filled them with wood glue and rasp shaving
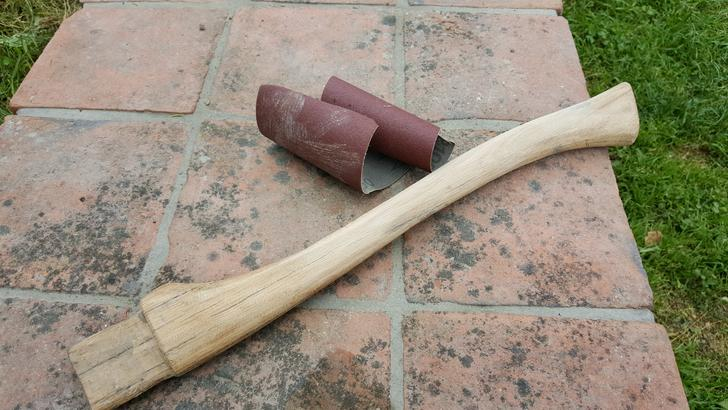
I then sanded it down starting with 40, 80 then 120 grit sandpaper

I was left with a very smooth surface, however I decided to take a piece of broken glass and drag the sharp broken edge along with the grain to really smooth it down

Not too bad if i say so myself. For my first serious attempt at an axe handle at least
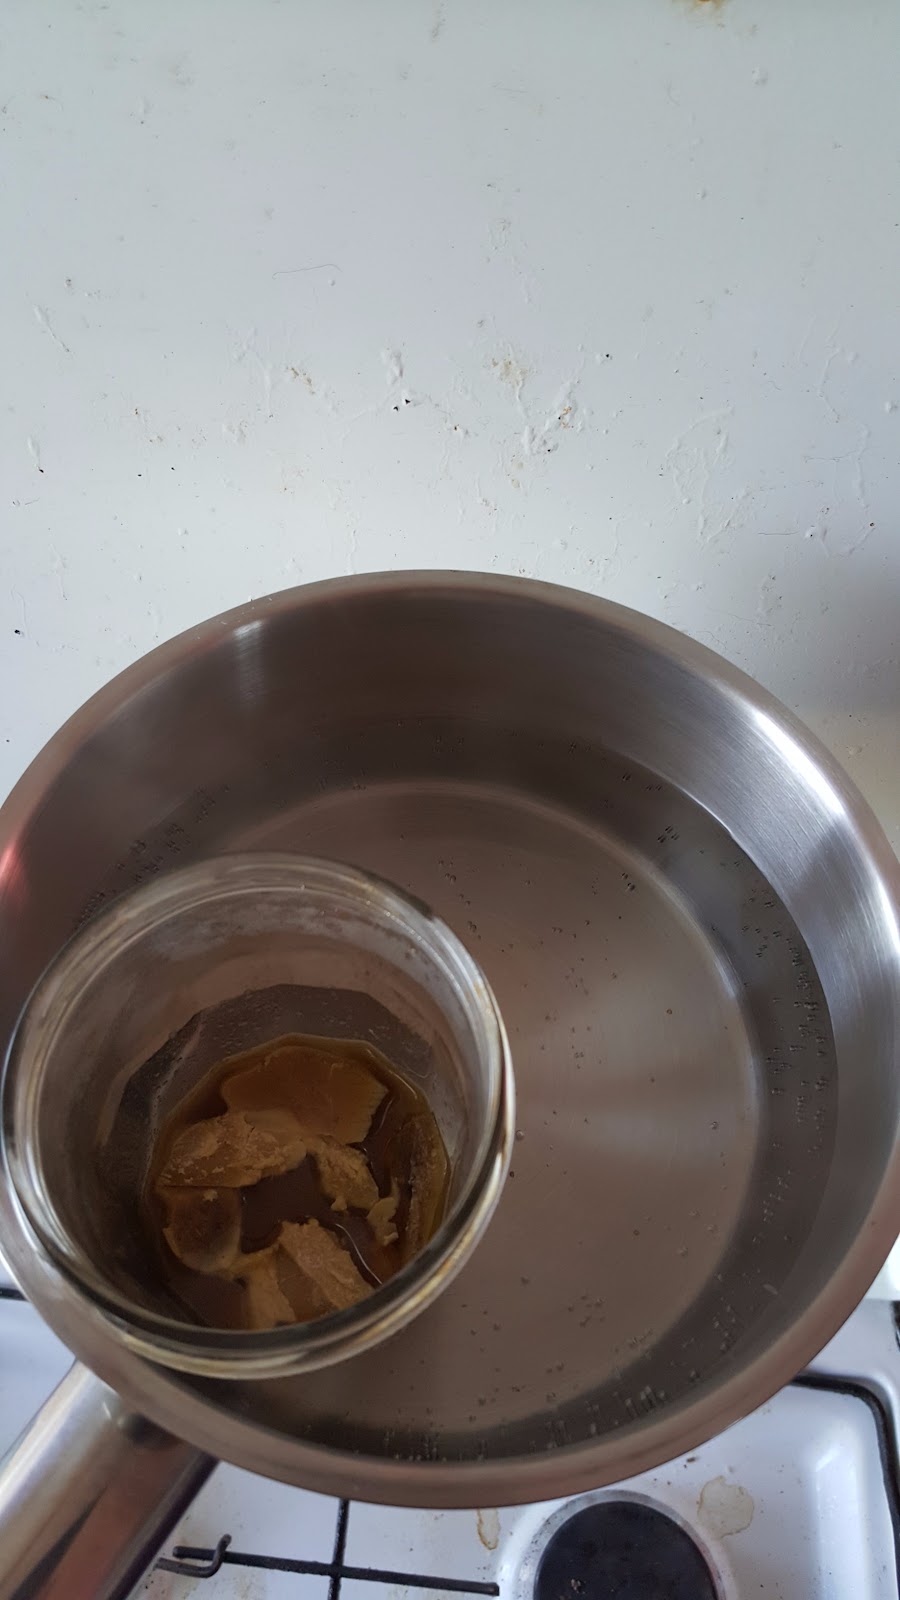
For a finish I read at length the wonders of the fabled boiled linseed oil that sounded perfect for my purposes, the only problem however is that I’m making do with what I have. Searching around the house I found a bottle of raw linseed oil and then by a wondrous miracle, the missus found a block of beeswax in a cupboard upstairs.

The perfect ingredients for a beeswax paste.

Once the paste had finished mixing I took a cloth and buffed it into the wood.

The colour change was fantastic, immediately the difference in the wood leapt out in front of me much more than I expected.
With the handle finished I slotted on the head and whittled a wedge from an offcut of the plank, I wanted to use the metal wedge that came with the original handle.

But as I was only able to hammer it in halfway comfortably I decided to cut it off short with a hacksaw. The point of the metal wedge is to ensure that the wooden wedge doesn’t randomly pop out on me mid swing and launch the head of the axe into my car door bedroom window. Probably not needed, but I like it.

After that I hammered it flat and gave the top a coat of beeswax paste.

Now time for a side by side with the backup handle.
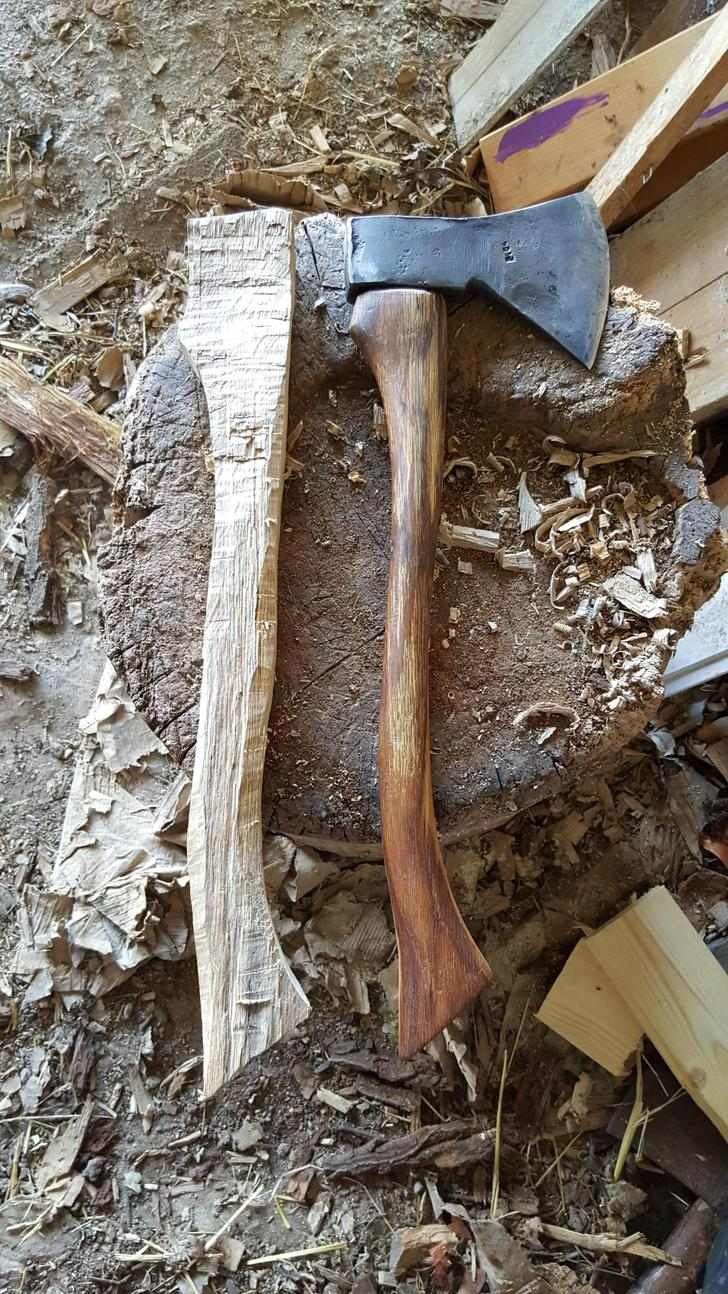
The change in colour is noticably more dramatic than I expected but it’s exactly what I had hoped for.

Look at it! Not bad for a lump of firewood.

Glamour shots.

There you have it, my walk along axe hanging. Hope you liked it, now go chop down a tree.


0 comments